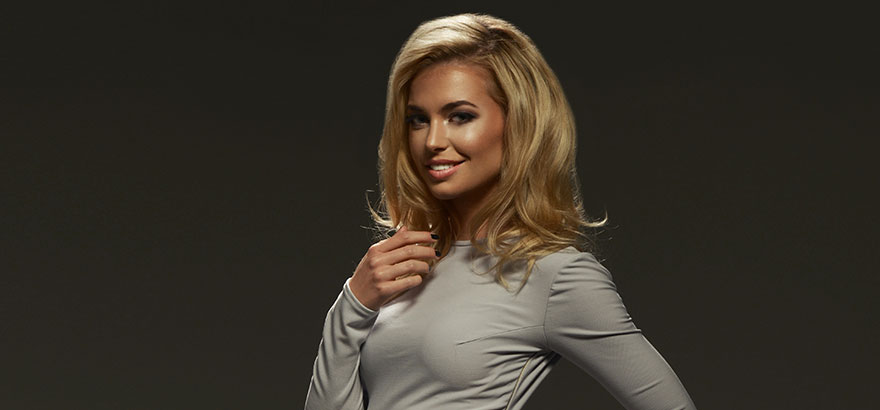
A keratin treatment comes with plenty of benefits: it eliminates frizz, straightens hair, and makes your hair stronger. If you think the treatment is for you, you should visit a keratin treatment salon. Wondering what the keratin treatment process involves? Here are the steps:
Step 1: Hair washing
The first thing the hairstylist will do is to clean your hair. You lie on a chair and use clarifying shampoos to get rid of all the hair’s dirt and oils. You should note that you don’t need to apply a hair conditioner after cleaning your hair.
There is nothing fancy about cleaning the hair. Begin with applying the anti-residue shampoo and massage it until it forms thick foam. Allow the treatment to sink for about 5 minutes, then rinse it thoroughly. If your hair is virgin and resistant, wash your hair with the second shampoo.
Once you are done with cleaning, dry the hair using a hairdryer and hands. For best results, don’t dry your hair completely—leave it at least 20% wet.
Step 2: Apply Keratin treatment.
Apply the keratin treatment to your hair roots using brief but confident strokes of the brush. After applying the treatment to all hair sections, use a small-toothed comb to comb your entire hair length while confirming whether you have evenly covered the entire hair.
If everything is good, use a hairdryer and dry both sections with cold airflow. Don’t brush your hair with the hairdryer. To have an easy time drying the hair, dry only two sections of the hair at once. By doing this, you lower the amount of smoke and fumes the hairdryer makes.
Many people are concerned about the type of keratin treatment they should get. There are plenty of options you can go with, and your choice depends on your preferences and confidence in the product.
If this is the first time applying the treatment, go for the 30 day treatment that lasts for just under a month. In addition to being cheaper than the three months and six-month treatments, it also gives you a feel of the treatment before committing to a longer-lasting option.
Step 3: Straightening
Your next move should be straightening your hair using a hair straightening iron. For best results, set the right temperature. If you have blonde/damaged hair, the temperature you set the iron shouldn’t exceed 200°C (or 390° F). On the other hand, if you have normal or resistant hair, your temperature shouldn’t exceed 230° C (or 450° F).
To straighten the hair, take a small lock of hair and straighten it from the base to the middle of the shaft. To make the hair tips look healthy and vital, be considerate of the moves you make. For example, make 6 straightening moves for blond/damaged hair and 3 moves for normal/resistant hair.
Remember to hold the hair straightening iron at a straight angle, transversely to your head, to have an easy time keeping the hair straight throughout its entire length from the roots to the tips.
Step 4: Rinse the hair
After you have straightened all the hair on your head, rinse it with warm water, apply a deep conditioning mask, and distribute it evenly throughout the hair. Let it sit for 5 minutes, then rinse it.
Once done, blow-dry the hair and complete the process with the right brush and straightening iron.
If you visited the right Brazilian keratin salon Rockville, you will have magnificently straight and shiny hair that is free of frizz.